Tech-Up Kit Resources
Getting started with the microbit:
Apps:
Troubleshooting:
WebUSB troubleshooting:
https://support.microbit.org/support/solutions/articles/19000105428-webusb-troubleshooting
General support page:
https://support.microbit.org/support/home
Science World Resources:
Finch intro:
https://learn.birdbraintechnologies.com/finch/makecode/program/10-1
Instruction portal:
https://learn.birdbraintechnologies.com/finch/program/
Software/apps
- Desktop FinchBlox (required Bluetooth): https://finchblox.birdbraintechnologies.com/FinchBlox.html
- Installing shortcuts (incl. FinchBlox .hex bluetooth file): https://learn.birdbraintechnologies.com/install-shortcuts/
- Software guidance chart https://learn.birdbraintechnologies.com/software-guidance-chart/
Activities & Lessons
- Printables: https://learn.birdbraintechnologies.com/finch/resources/
- Activities: https://learn.birdbraintechnologies.com/finch/activities-home/
- Register for a code (check your junk folder if you don't get it!)
Troubleshooting
- Accuracy: the accuracy of the Finch movement decreases with speed and friction. BirdBrain recommends setting a low speed and adding pauses between movements if accurate movements are necessary. Friction is increased when drawing (highest with pencils, low with the recommended brush markers)
- Always turn off the Finch or remove the microbit from the Finch before connecting it to a computer. (Having multiple power sources to the microbit can interfere with the download and prevent proper loading of code onto the microbit).
Science World Resources:
- https://www.scienceworld.ca/resource/geometry-with-finch-robots/
- https://www.scienceworld.ca/resource/tessellations-and-spirographs-with-finch-robots/
- https://www.scienceworld.ca/resource/rover-coder/
- https://www.scienceworld.ca/resource/introduction-to-the-scientific-method-with-finch-robots/
- https://www.scienceworld.ca/resource/shaping-algorithms/
Computers highly recommended over tablets.
If using the micro:bit iPad app instead of a computer: you can’t access the reset button on the back of the microbit while it’s plugged in to the Strawbees Robotics board. Instead, switch the board off and on quickly to “reset” to use the Bluetooth mode.
Getting started:
- Make a free account on strawbees classroom: https://classroom.strawbees.com
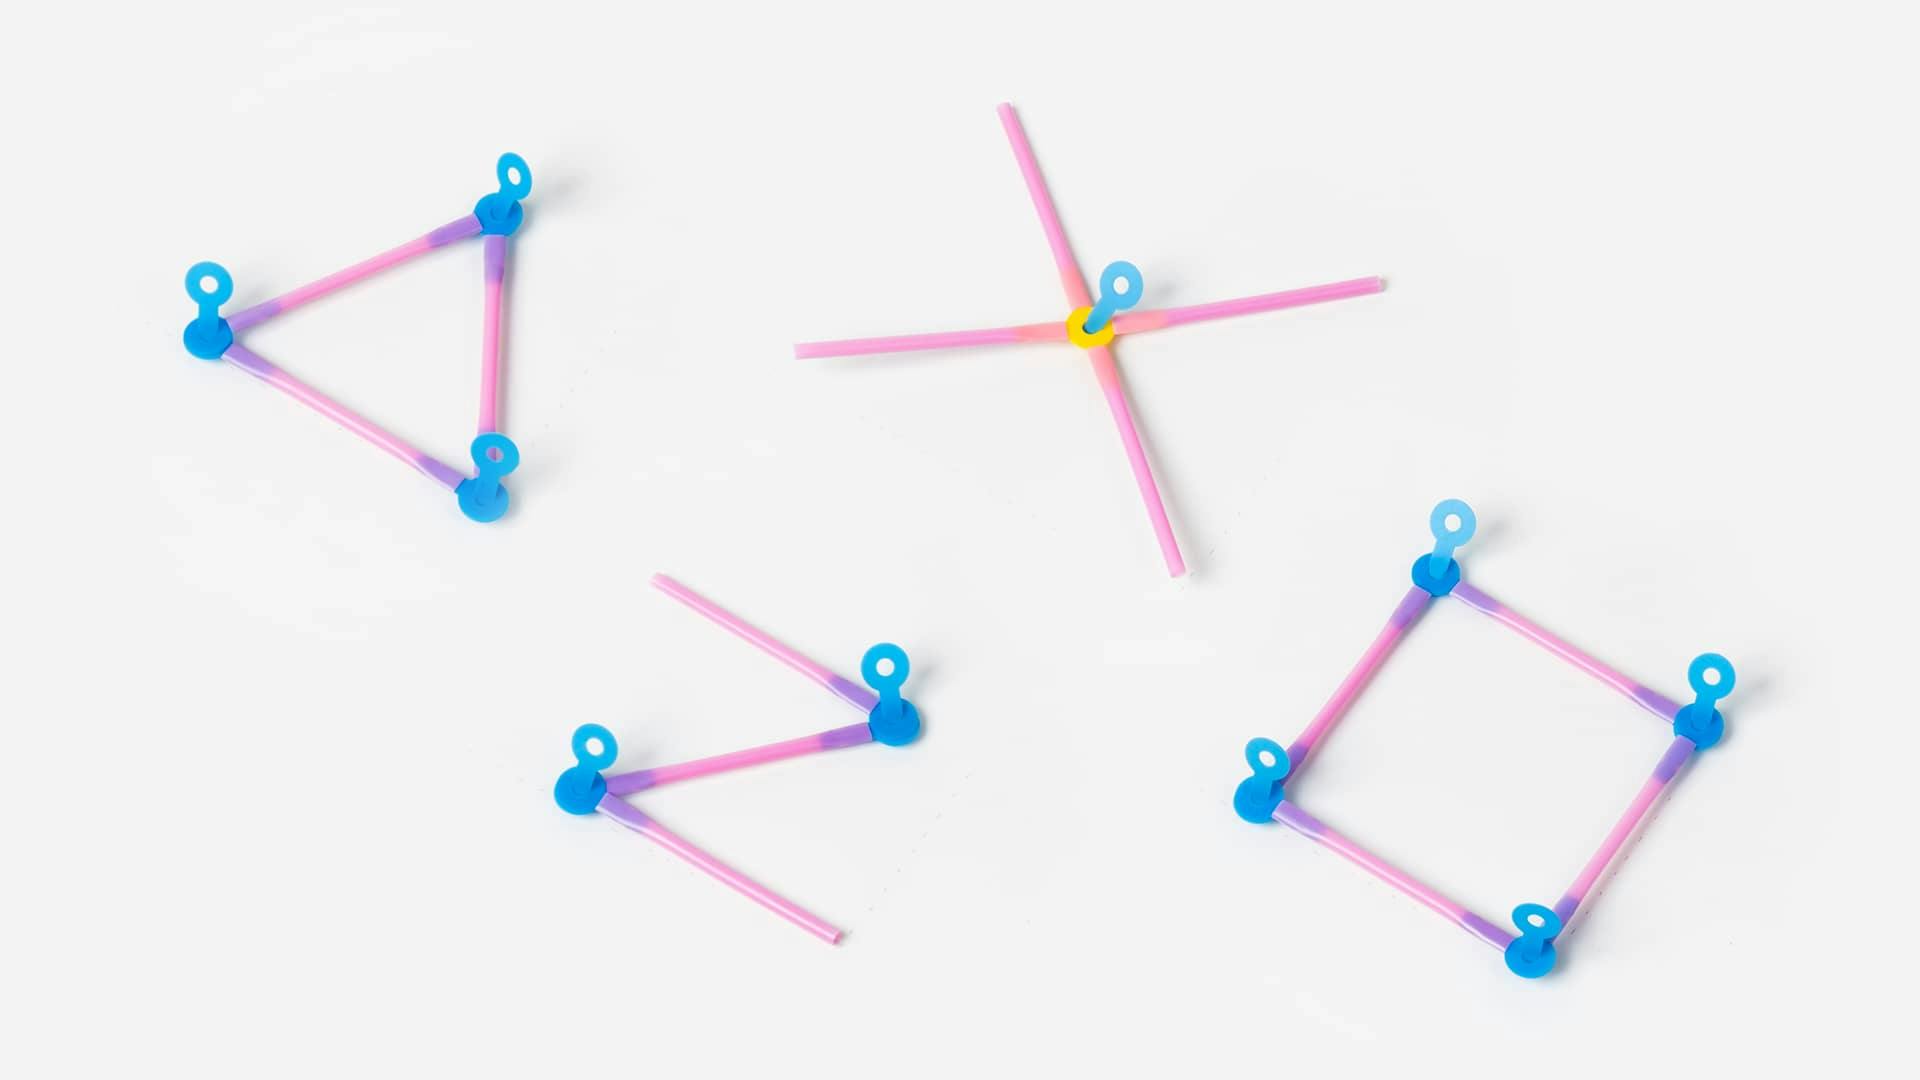
Using straws and connectors:
- Some joint examples
- Intro to using strawbees: https://classroom.strawbees.com/page/what-are-strawbees
- Some lesson plans, activities, and posters:
Using the robotics board:
Always turn off the robotics board or remove the microbit from the robotics board before connecting it to a computer. (Having multiple power sources to the microbit can interfere with the download and prevent proper loading of code onto the microbit).
- Intro to the strawbees robotics board: https://classroom.strawbees.com/media/asset_onboarding-guide_robotic-inventions-microbit.pdf
- Lesson plans & activity ideas with the strawbees robotics: https://classroom.strawbees.com/page/steam-classroom-robotics-microbit and https://makecode.microbit.org/pkg/strawbees/pxt-robotic-inventions
- Understanding servo motors: https://resources.kitronik.co.uk/pdf/a-brief-guide-to-servos.pdf
Servo troubleshooting:
- Check that the robotics board is turned on (green light)
- Check that the servo is plugged in properly (darkest wire on the arrow) and that the code is talking to the right servo (eg if the servo is plugged into spot “B”, code needs to say “servo B”
Science World Resources:
Getting started:
- Go to https://inksmith.teachable.com/p/land
- Click on “Enroll in Course for $100”
- Under “Order summary”, click on “Add coupon code”
- Use the code on the card included in the kit
- Complete the process to make your login
Devices:
- Because the breakout board needs to be plugged in to a power source through the microUSB cord, this kit only works if students have computers (not tablets).
- Always turn off the breakout board or remove the microbit from the breakout board before connecting it to a computer. (Having multiple power sources to the microbit can interfere with the download and prevent proper loading of code onto the microbit).
Getting started:
https://www.monkmakes.com/downloads/instructions_rgb_for_mb.pdf
Start teaching guide: https://www.birdbraintechnologies.com/hummingbird-start-teaching/
Hardware guide: https://learn.birdbraintechnologies.com/hummingbirdbit/resources/hardware-guide/
Projects: https://learn.birdbraintechnologies.com/hummingbirdbit/projects/
Pro-D courses: https://learn.birdbraintechnologies.com/professional-development/video-courses/hummingbirdbit/
Programming guides: https://learn.birdbraintechnologies.com/hummingbirdbit/program/
Software guide: https://learn.birdbraintechnologies.com/software-guidance-chart/#hummingbirdbit
Block coding descriptions: https://learn.birdbraintechnologies.com/hummingbirdbit/resources/block-descriptions/
Building guide: https://learn.birdbraintechnologies.com/hummingbirdbit/build/
Printable resources (educator & student): https://learn.birdbraintechnologies.com/hummingbirdbit/resources/
Assessment guides: https://learn.birdbraintechnologies.com/hummingbirdbit/resources/assessment-guides/
Troubleshooting guides: https://learn.birdbraintechnologies.com/hummingbirdbit/resources/troubleshooting-cards/
Note: There are two types of Ozobots: Bits and Evos. As noted on the Ozobot FAQ page:
Bit, the original Ozobot, was released in 2014 and is not Bluetooth-enabled.
Both Ozobots come with 2 Ways to Code–screen-free with Color Codes and on-screen with Ozobot Blockly. Ozobot Blockly code can be loaded instantly to Evo via Bluetooth, while Bit must be held up to the screen for flash loading.
If you’re not sure which Ozobot you have, look at the bottom of the bot. You’ll see either “Bit” or “Evo” directly below where it says “Ozobot”.
Getting started with Ozobots: https://ozobot.com/welcome/
Two ways of coding: https://ozobot.com/create/
Ozobot FAQ - https://ozobot.com/support/faq
Colour Codes - https://ozobot.com/create/color-codes
Intro to Ozoblockly Video - https://www.youtube.com/watch?v=y4GQxrCYgxs&ab_channel=Ozobot
Official YouTube Channel - https://www.youtube.com/c/OzobotChannel
Ozobot Classroom (Lesson Library found here) – requires free account
https://classroom.ozobot.com/dashboard
Virtual Ozobot Simulator Challenges - https://ozobot.com/create/challenges
Additional Ozobot Kit Resources and Activities (curated and created by Tech-Up staff): https://tinyurl.com/ozobot-tech-up
Science World Resources:
Getting started:
- Getting started with Edison full guide https://meetedison.com/content/Get-started-with-Edison-guide-English.pdf
- Info about programming Edison https://meetedison.com/robot-programming-software/
- Edison robot’s inputs, outputs, and sensors https://meetedison.com/edison-robots-sensors/
- Lesson plans https://meetedison.com/robotics-lesson-plans/
EdBlocks (like ScratchJr, younger grades)
- https://www.edblocksapp.com
- Blocks reference https://meetedison.com/content/EdBlocks-easy-reference-guide.pdf
- EdBlocks teacher guide https://meetedison.com/content/EdBlocks-teachers-guide-complete.pdf
- EdBlocks student activity printouts (pairs with teacher guide) https://meetedison.com/content/EdBlocks-lesson-activities-complete-set.pdf
EdScratch (like Scratch coding blocks)
- https://www.edscratchapp.com
- Getting started with EdScratch https://meetedison.com/robot-programming-software/edscratch/
- EdScratch teacher guide https://meetedison.com/content/EdScratch/EdScratch-teachers-guide.pdf
- EdScratch student activity printouts (pairs with teacher guide) https://meetedison.com/content/EdScratch/EdScratch-student-lesson-activities.pdf
- Understanding the warning messages in debugging mode https://meetedison.com/robot-programming-software/edscratch/edscratch-warning-messages/
Troubleshooting:
- Calibrate the motors (printout) https://meetedison.com/content/support/Edison-V2-Acceleration-Calibration.pdf
- Calibrate obstacle detection (printout) https://meetedison.com/content/support/Calibrate-obstacle-detection-guide.pdf
Getting started:
- Educator’s Guide https://cdn.shopify.com/s/files/1/0162/8612/files/Makey_Makey_Educators_Guide.pdf?16481577170705338427
- Info on using Makey Makey starts on page 11
- Troubleshooting tips on page 22
Lessons:
- Lesson plans with slides https://makeymakey.com/blogs/blog/resources-for-teaching-makey-makey-at-home-hybrid-models-or-remote-learning
- How-to guides and lessons https://makeymakey.com/pages/how-to